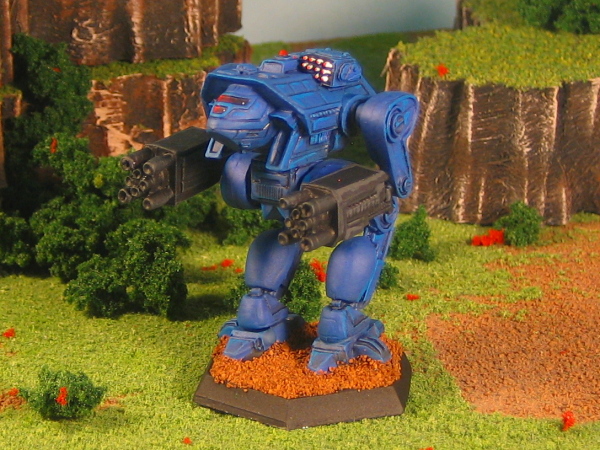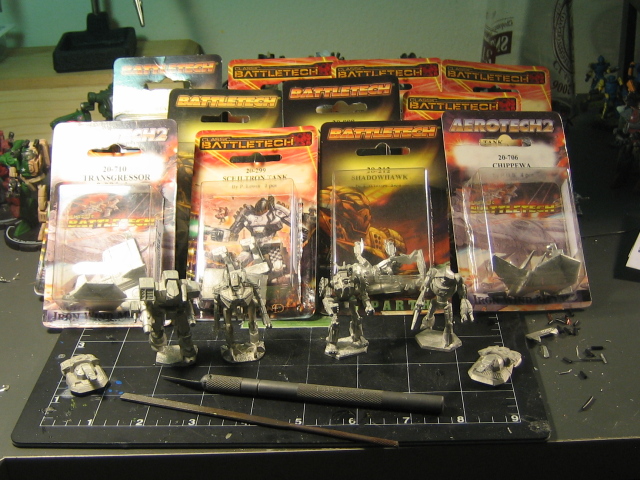
I knew I wanted to do something exciting with this miniature. The Reseen Warhammer’s left leg is sculpted with a slight bend at the knee. Perfect for a walking pose or stepping up onto something. I had some extra pieces of miniatures I did not have all the parts for. It all just came together. Here is how it went.
 Starting Out
Like most Reseen scuplts, this miniature came in an impressive number of pieces. Just great for those wanting a little flexibility but an added trouble to put together. I ended up pinning each and every part and let me tell you those arms were a bitch.
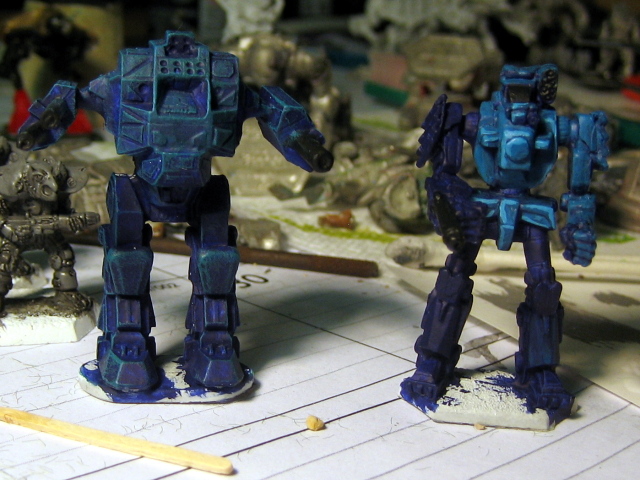
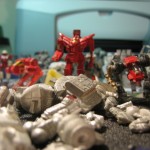
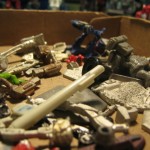
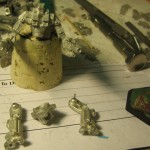
But not nearly as bad as those hips. In the picture you can see the early stages of assembly. I spent a good few minutes figuring out just how I was going to go about putting the legs together and keep the hips level. Nobody likes a miniature that looks like it is in a limbo contest.
See the leg on the right of the picture? I put one pin in that and then drilled a hole straight through the hips to the other leg which had a matching hole. I wish I had a secret technique to share, but honestly, I just slapped superglue on the thing and held it together knowing I would have at least one adjustment before the glue set fast.
The base was a simple matter of slapping green stuff together with the MadCat torso. I drilled in some bullet holes for good measure as well as some laser burns cut with a file.
 Adding Some Color
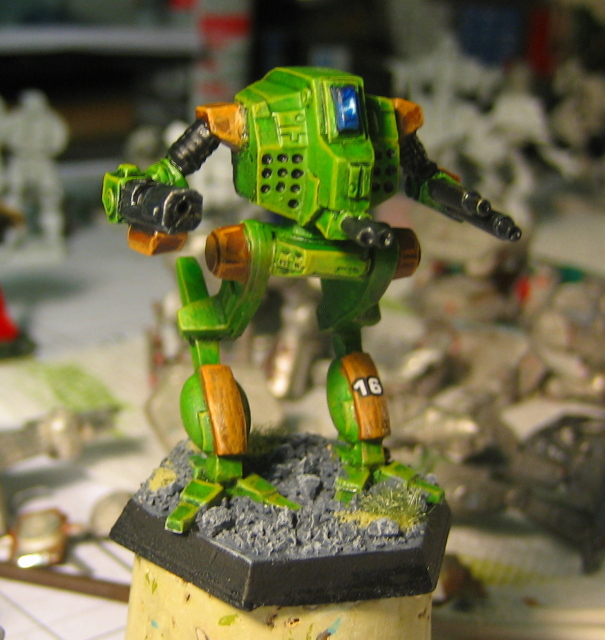
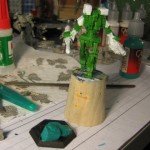
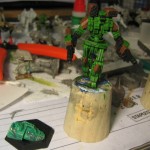
I slapped on the first coat of green both on the Warhammer and his little friend. The Warhammer is based in a mix of Dark Green and Camo Green (These are Vallejo Game Colors acrylics).
The MadCat started out with a coat of Jade Green. Simple so far.
Note I am working on the Warhammer using a cork. That way, while I paint, I won’t have to touch the mini itself. I have already at this point dry fit the Warhammer on the base and drilled a mounting hole in the MadCat for a pin coming out of the Warhammer’s foot.
 A Quick Wash
Just about every miniature I do gets a healthy dose of magic wash. You can see in the picture how the dark ink leeches into the crevasses of the miniature. If applied properly, you get a great base onto which you can highlight and bring the color of the miniature back up to a final shade.
It is slowly starting to look like something.
Beside the Warhammer you can see the quick job I did on the MadCat torso. I added in progressively greater amounts of Scorpy Green to my Jade Green and dry brushed in the highlights. A final panel line of Scorpy Green in all the right places finishes it off.
 Final Touches
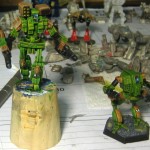
Both green and tan sections of the miniature get at least two dry brushed highlights and sharp panel lines. A quick cockpit jeweling and some final yellow dots put on the final touches.
And now… I have to get the damn thing off the cork! The super glue stuck a bit too well. I ended up scraping off the paint from the toes on both feet. A did a quick repair job with several dark green mixes. Bet you didn’t pay that much attention to the feet anyways!
I was sweating bullets when it came time to glue him to the MadCat. I used epoxy because I wanted a super strong bond that wouldn’t crack under heavy use.
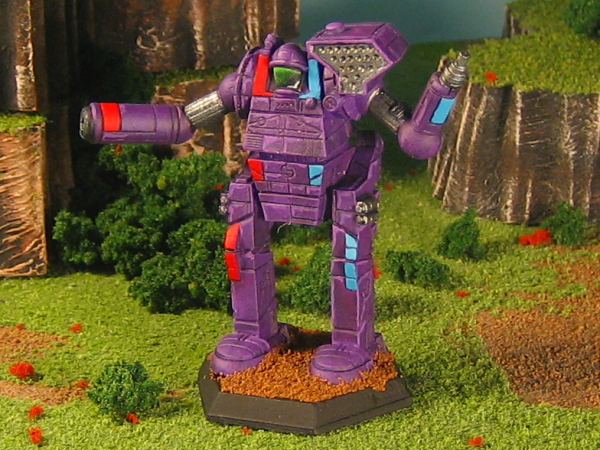
In the final image you can see the Avatar from an earlier post from which I practiced the paint scheme. I think they look good together and I can’t wait to paint up the rest of the lance. I’m thinking a T-Hawk and maybe a Sunder.
One thing I do know for sure, this is not the last time you’ll see this Warhammer. That’s a promise.
Posted under
Minis
