Miniature Photography Background
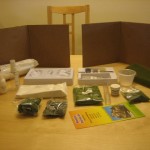
 I love painting miniatures. About the only thing I like more is photographing them after I’m done and sharing my work. Up until now I’ve used a very limited assortment of backgrounds for my photographs. I wanted to do something different and so last weekend, coupon in hand, I picked up a Mountain Diorama Kit at a local arts and crafts store. It retails for $22 but came out to under $15 after a 40% off coupon.
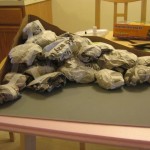
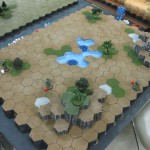
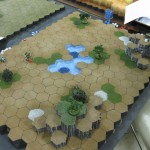
I built the entire diorama in about a day including dry time. I’ll take you through the steps as I go from a box full of scenery to some new pictures of some of my older ‘Mechs.
The kit comes with everything you need for a diorama or so it says. The first thing I added was a 20″x15″ poster board to make my base. They sell a fancy base if you want, but I’m all about saving money on this project so I stuck with a simple poster board foundation.
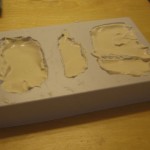
The very first step is to make some rocks. The kit comes with a rock mold and some casting plaster. From my experience the water measurement listed is woefully inadequate. Use your judgment and make sure your plaster will pour. You want it to settle easily without making a total mess. Mine ended up a little bit thick and the rocks eventually came out with small pot marks on the rock faces.
You should have plenty of plaster to make almost two full rock sets. I was a bit conservative and only made one, but I ended up with plenty left over. You will need some plaster for later but not a whole lot.
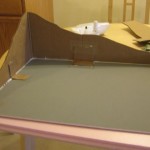
Using my poster board as a base, I glued and taped the supplied back boards to form a solid foundation for my mountain. As I began adding balled up newspaper I kept in mind to leave a large enough flat area for my miniatures to stand.
Plaster cloth, something simular to papier-mâché, is laid out one piece at a time to form the outer shell that our greenery will adhere to. Take your time with this step. It is not a race. After placing each piece, wet your hand and smooth out the plaster attached to the cloth to fill in the holes of the cloth. This will help to create a smoother surface for your undercoat to stain. Without ensuring most (but not necessarily all) the holes are plugged, the little earth undercoat they give you will seep into those holes and not do as good a job staining your ground.
You will have plenty of cloth to go the distance. You should have more than enough to have two solid layers over your newspaper.
Adding the Rocks and Some Color
The rocks glue down with Elmer’s. Additional plaster is mixed and poured to help fill in gaps between the rocks and the underlying plaster cloth.
Coloring the rocks was deceptively easy. Yellow, brown, black. 1 – 2 – 3 simple. Follow the directions and you will be surprised by the results. Who knew this stuff could be easy?

 The earth undercoat is meant to give a earthy stain to the plaster cloth. For my diorama, I did not fill in all of the plaster cloth holes like I should have. That combined with being a bit conservation on the water measurement led to me running out well before finishing the job. Word to the wise: water down this stuff like it’s going out of style. You can always apply a second coat, but when it’s gone, it’s gone.
I ended up mixing some Beasty Brown and Camo Green Vallejo paints to good effect and finished up. The blend (heavy with the Camo Green) was a surprisingly decent match to the included earth undercoat color.
Input Green and Season to Taste

 Finally, we start adding some grass! The kit includes three different shades of green for you to sprinkle to your hearts content. Go nuts, have fun, and be reassured you will have plenty left over to blend. My only regret at this stage is going so heavy with the dark evergreen turf when I could have spread it thinner over a larger area. I think it would have looked even better with more subtle highlights.
The kit includes tiny rocks, bushes, and thin stranded foliage which I used to mask out imperfections in my work. See a seam? Fill it with shrubs! Easy as that you can look like you knew what you were doing the whole time.

Late in the game, the directions include a bit on making trees from the stranded shrub material. I wanted to give the kit a full shake out so I went ahead and made three, resisting the urge to just get out some of my own custom trees. I have to say my trees do not look anything like theirs do. Just like the Double Whopper you eat doesn’t look anything like the one shown on the menu, you have to accept the fact that not all is possible with a $15 diorama in a box.
Final Pictures
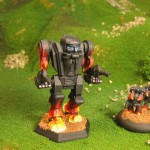
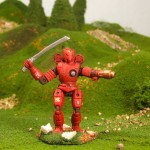
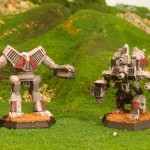
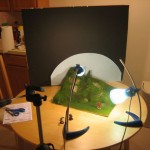
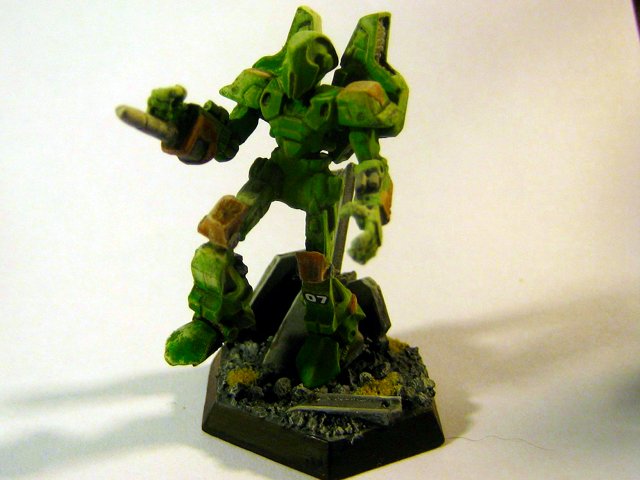
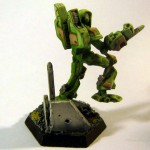
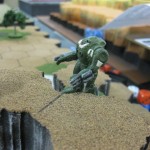
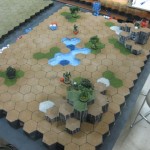
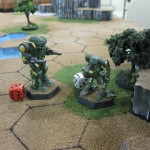
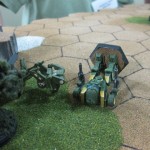
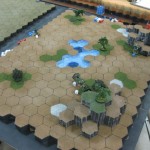
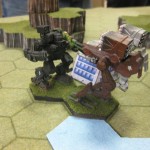
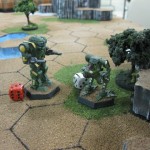
After the glue and the paint were all dry it was time for some pictures! I brought out a few favorites to show including one I did not paint myself but instead performed a moderate tune-up on. After all is said and done, the diorama fits nicely on top of a shelf with my other Battletech books and accessories.
Posted under Terrain